Sharing Our Passion for Technology
& Continuous Learning

Deployments
So far we've been deploying pods directly. This has been a great way to gain familiarity with Kubernetes, but typically, we'll rely on some other workload resource to create our pods for us. In this section, we'll look at the Deployment resource.
Creating a deployment isn't too different from creating a pod directly. We specify a name/namespace along with a container image. However, when we create a deployment, we can also use --replicas to tell it how many pod replicas to create. All the pods created by a deployment use the same image, but they are given a unique, randomly-generated name.
Let's test this out. We'll start by creating a namespace for ourselves
$ kubectl create namespace galaxy
namespace/galaxy created
Now, let's create our first deployment. In this case, we'll specify that we want three replicas:
$ kubectl create deployment star --image=jmalloc/echo-server:0.3.6 --replicas=3 --namespace=galaxy
deployment.apps/star created
Like pods, namespaces, and services, we can use kubectl get to list our deployments:
$ kubectl get deployments --namespace=galaxy
NAME   READY   UP-TO-DATE   AVAILABLE   AGE
star   3/3     3            3           6s
This output shows that our deployment, star, created the three pods as requested. Let's list those three pods:
$ kubectl get pods --namespace=galaxy
NAME                    READY   STATUS    RESTARTS   AGE
star-796b6dcc77-q4lhd   1/1     Running   0          4m57s
star-796b6dcc77-j87bk   1/1     Running   0          4m57s
star-796b6dcc77-kvtfk   1/1     Running   0          4m57s
Before, when we managed pods directly, deleting a pod meant it was truly deleted from the cluster. In comparison, deployments will make sure there are the correct number of pods. If we delete a pod that is part of a deployment, the deployment will automatically create a new pod.
$ kubectl delete pod star-796b6dcc77-q4lhd --namespace=galaxy
pod "star-796b6dcc77-q4lhd" deleted

$ kubectl get pods --namespace=galaxy
NAME                    READY   STATUS    RESTARTS   AGE
star-796b6dcc77-j87bk   1/1     Running   0          7m46s
star-796b6dcc77-kvtfk   1/1     Running   0          7m46s
star-796b6dcc77-7qlht   1/1     Running   0          5s
We're not stuck with three replicas though. We can scale our deployment to adjust the replicas count. Let's scale up our replica count:
$ kubectl scale deployment star --replicas=5 --namespace=galaxy
deployment.apps/star scaled

$ kubectl get pods --namespace=galaxy
NAME                    READY   STATUS    RESTARTS   AGE
star-796b6dcc77-j87bk   1/1     Running   0          11m
star-796b6dcc77-kvtfk   1/1     Running   0          11m
star-796b6dcc77-7qlht   1/1     Running   0          3m58s
star-796b6dcc77-lqst5   1/1     Running   0          5s
star-796b6dcc77-57qfg   1/1     Running   0          5s
And now, let's scale down our replica count:
$ kubectl scale deployment star --replicas=2 --namespace=galaxy
deployment.apps/star scaled

$ kubectl get pods --namespace=galaxy
NAME                    READY   STATUS    RESTARTS   AGE
star-796b6dcc77-j87bk   1/1     Running   0          12m
star-796b6dcc77-kvtfk   1/1     Running   0          12m
Deleting a deployment will remove all the pods it created:
$ kubectl delete deployment star --namespace=galaxy
deployment.apps "star" deleted

$ kubectl get pods --namespace=galaxy
No resources found in galaxy namespace.
Deployments and services play nicely together.
Let's recreate our deployment and look at the labels:
$ kubectl create deployment star --image=jmalloc/echo-server:0.3.6 --replicas=3 --namespace=galaxy
deployment.apps/star created

$ kubectl get pods --show-labels --namespace=galaxy
NAME                    READY   STATUS    RESTARTS   AGE   LABELS
star-796b6dcc77-hkzpm   1/1     Running   0          17s   app=star,pod-template-hash=796b6dcc77
star-796b6dcc77-7bmqd   1/1     Running   0          17s   app=star,pod-template-hash=796b6dcc77
star-796b6dcc77-rq5kv   1/1     Running   0          17s   app=star,pod-template-hash=796b6dcc77
Notice how all the pods have an app=star label. A Deployment will attach the same labels to all its pods. This plays nicely with Services. We can use the expose command to create a Service, using app=star as the selector.
$ kubectl expose deployment/star --name=star --port=8080 --selector=app=star --namespace=galaxy
service/star exposed
Create our wget pod
$ kubectl run spaceship --image=alpine:3.19 --namespace=galaxy --command -- sleep infinite
pod/spaceship created
Now let's call our service from the pod:
$ kubectl exec pod/spaceship --namespace=galaxy -- wget -q -O- http://star:8080
Request served by star-796b6dcc77-hkzpm

HTTP/1.1 GET /

Host: star:8080
User-Agent: Wget
Connection: close
As we learned previously, the Service will load balance requests across the pods with matching labels. Since a Deployment creates pods with the same labels, our requests will be load-balanced across them.
$ kubectl exec pod/spaceship --namespace=galaxy -- wget -q -O- http://star:8080
Request served by star-796b6dcc77-rq5kv

HTTP/1.1 GET /

Host: star:8080
User-Agent: Wget
Connection: close
(Note that the hostname is different. You may need to execute the request several times to see the different hostnames)
It is possible to scale to 0 replicas, by the way. Don't think of this as a lambda, however. Pods won't automatically spin up when a request is received.
$ kubectl scale deployment star --replicas=0 --namespace=galaxy
deployment.apps/star scaled

$ kubectl get pods --namespace=galaxy
NAME        READY   STATUS    RESTARTS   AGE
spaceship   1/1     Running   0          16m

$ kubectl exec pod/spaceship --namespace=galaxy -- wget -q -O- http://star:8080
wget: can't connect to remote host (10.43.215.214): Connection refused
command terminated with exit code 1
Our request to the Service fails because no pods running.
Deployments also make it easy to update our application image. Great for deploying new versions of our app.
Let's create a new deployment for ourselves to see how this works.
$ kubectl create deployment planet --replicas=3 --image=nginx:1.21 --namespace=galaxy
deployment.apps/planet created

$ kubectl get pods --namespace=galaxy
NAME                      READY   STATUS    RESTARTS   AGE
spaceship                 1/1     Running   0          17m
planet-7dbd5686dd-wgnhh   1/1     Running   0          15s
planet-7dbd5686dd-92pfj   1/1     Running   0          15s
planet-7dbd5686dd-8l2xs   1/1     Running   0          15s
Let's say we are ready to deploy a new version of our app. We can do:
$ kubectl set image deployment/planet nginx=nginx:1.22 --namespace=galaxy
deployment.apps/planet image updated

$ kubectl get pods --namespace=galaxy
NAME                      READY   STATUS    RESTARTS   AGE
spaceship                 1/1     Running   0          20m
planet-78c595dc85-vqw8j   1/1     Running   0          38s
planet-78c595dc85-nkjsr   1/1     Running   0          27s
planet-78c595dc85-jv8cx   1/1     Running   0          25s
Note: the first part of nginx=<image> (the name to the left of the equals) refers to the container name in the pod. The container name can be verified by looking at the details of the pod or deployment using kubectl describe. With how we've been creating resources, the container name matches the name of the container image without the tag or repository information.
Depending on how quickly you run the commands, you may see extra pods with a ContainerCreating or Terminating status. For example:
NAME                      READY   STATUS              RESTARTS   AGE
spaceship                 1/1     Running             0          19m
planet-7dbd5686dd-wgnhh   1/1     Running             0          2m37s
planet-7dbd5686dd-92pfj   1/1     Running             0          2m37s
planet-7dbd5686dd-8l2xs   1/1     Running             0          2m37s
planet-78c595dc85-vqw8j   0/1     ContainerCreating   0          8s
This is because the Deployment uses a RollingUpdate rollout strategy. Kubernetes incrementally replaces instances of your old version with the new one. This ensures that at least one instance of your application is always running, leading to zero downtime.
Let's clean up before moving on:
$ kubectl delete namespace galaxy
Demo Application
So far, we've been using existing images, but how do we deploy our application?
This demo application is a simple web application, using Python 3.9, with a frontend and backend that displays a few of my favorite things. We will create Docker images and use a manifest file to deploy them to a Kubernetes cluster.
Backend
We’ll start by constructing a backend API that facilitates interaction with our frontend. The backend will be a simple API that will allow us to create and retrieve our favorite things. The backend will be built using FastAPI and will be packaged as a Docker image.
Our backend in the file backend.py will have two endpoints:
GET /things- returns a list of thingsPOST /things- creates a new thing
import fastapi
import pydantic

class Thing(pydantic.BaseModel):
    name: str

app = fastapi.FastAPI()

things: list[Thing] = [
    {"name": "raindrops on roses"},
    {"name": "whiskers on kittens"},
    {"name": "bright copper kettles"},
    {"name": "warm woolen mittens"},
]

@app.get("/things", response_model=list[Thing])
def get_things():
    return things

@app.post("/things", status_code=201)
def create_thing(thing: Thing):
    things.append(thing)
    return thing
Let's add a Dockerfile backend.Dockerfile to build our backend image.
FROM python:3.9

WORKDIR /app
COPY requirements.txt .
RUN pip install -r requirements.txt

COPY backend.py .

EXPOSE 8000
ENTRYPOINT ["uvicorn", "backend:app", "--host", "0.0.0.0", "--port", "8000"]
Frontend
Let's build a frontend that will interact with our backend API. Create a file called frontend.py that contains the following:
import fastapi
import fastapi.templating
import pydantic_settings
import requests

class Settings(pydantic_settings.BaseSettings):
    api_host: str = "localhost"
    api_port: int = 8000

settings = Settings()
app = fastapi.FastAPI()
templates = fastapi.templating.Jinja2Templates(directory="templates")

api_url = f"http://{settings.api_host}:{settings.api_port}"

@app.get("/")
def index(request: fastapi.Request):
    print(api_url)
    r = requests.get(f"{api_url}/things")
    r.raise_for_status()
    return templates.TemplateResponse("index.html", {"request": request, "things": r.json()})

@app.post("/new")
def new(request: fastapi.Request, name: str = fastapi.Form()):
    r = requests.post(f"{api_url}/things", json={"name": name})
    r.raise_for_status()
    return templates.TemplateResponse("new.html", {"request": request, "name": name})
We will also need to create a templates folder to hold our HTML files. Inside the templates folder, we will create two files, index.html and new.html, with the following content.
The Jinja template file for index.html
<!doctype html>
<html>
  <body>
    <script
      src="https://unpkg.com/htmx.org@1.7.0"
      integrity="sha384-EzBXYPt0/T6gxNp0nuPtLkmRpmDBbjg6WmCUZRLXBBwYYmwAUxzlSGej0ARHX0Bo"
      crossorigin="anonymous"
      defer
    ></script>

    <h1>Favorite Things</h1>

    <div id="things">
      {% for thing in things %}
      <p>{{ thing.name }}</p>
      {% endfor %}
    </div>

    <form hx-post="new" hx-target="#things" hx-swap="beforeend">
      <input type="text" name="name" />
      <input type="submit" />
    </form>
  </body>
</html>
The Jinja template file for new.html
<p>{{ name }}</p>
Let's create a Dockerfile frontend.Dockerfile that we will use to build our frontend image.
FROM python:3.9

WORKDIR /app
COPY requirements.txt .
RUN pip install -r requirements.txt

COPY templates/ templates/
COPY frontend.py .

EXPOSE 8000
ENTRYPOINT ["uvicorn", "frontend:app", "--host", "0.0.0.0", "--port", "3000"]
Before we can build our images, we need to create a requirements.txt file to hold our python dependencies. The contents of the file will be as below:
annotated-types==0.6.0
anyio==4.2.0
certifi==2023.11.17
charset-normalizer==3.3.2
click==8.1.7
fastapi==0.109.0
h11==0.14.0
idna==3.6
Jinja2==3.1.3
MarkupSafe==2.1.4
pydantic==2.5.3
pydantic-settings==2.1.0
pydantic_core==2.14.6
python-dotenv==1.0.1
python-multipart==0.0.6
requests==2.31.0
sniffio==1.3.0
starlette==0.35.1
typing_extensions==4.9.0
urllib3==2.1.0
uvicorn==0.27.0
We then create a manifest file demo.yaml that will hold our Kubernetes resources. The file will contain the following manifest files:
apiVersion: v1
kind: Namespace
metadata:
  name: demo

---
apiVersion: apps/v1
kind: Deployment
metadata:
  name: backend
  namespace: demo
spec:
  replicas: 1
  selector:
    matchLabels:
      app: backend
  template:
    metadata:
      labels:
        app: backend
    spec:
      containers:
        - image: backend:1
          name: backend
          imagePullPolicy: Never

---
apiVersion: v1
kind: Service
metadata:
  name: backend
  namespace: demo
spec:
  selector:
    app: backend
  ports:
    - port: 8000
      protocol: TCP
      targetPort: 8000

---
apiVersion: apps/v1
kind: Deployment
metadata:
  name: frontend
  namespace: demo
spec:
  replicas: 1
  selector:
    matchLabels:
      app: frontend
  template:
    metadata:
      labels:
        app: frontend
    spec:
      containers:
        - image: frontend:1
          name: frontend
          imagePullPolicy: Never
          env:
            - name: API_HOST
              value: backend

---
apiVersion: v1
kind: Service
metadata:
  name: frontend
  namespace: demo
spec:
  selector:
    app: frontend
  ports:
    - port: 3000
      protocol: TCP
      targetPort: 3000
Notice imagePullPolicy is set to Never. This is because we are building our images locally. If we were to push our images to a registry, we would set this to Always or ifNotPresent.
The folder structure will look like this:
demo
  - templates
    - index.html
    - new.html
  - backend.Dockerfile
  - backend.py
  - demo.yaml
  - frontend.Dockerfile
  - frontend.py
  - requirements.txt
Now let's build our Docker images and apply the manifest file.
Build and tag the docker image for the backend.
docker build . -f backend.Dockerfile -t backend:1
Build and tag the docker image for the frontend.
docker build . -f frontend.Dockerfile -t frontend:1
Now we can deploy our application to our cluster with kubectl apply.
kubectl apply -f demo.yaml
Then, we need to port-forward the frontend so that we can see it in our browser.
kubectl port-forward svc/frontend 3000:3000 --namespace demo
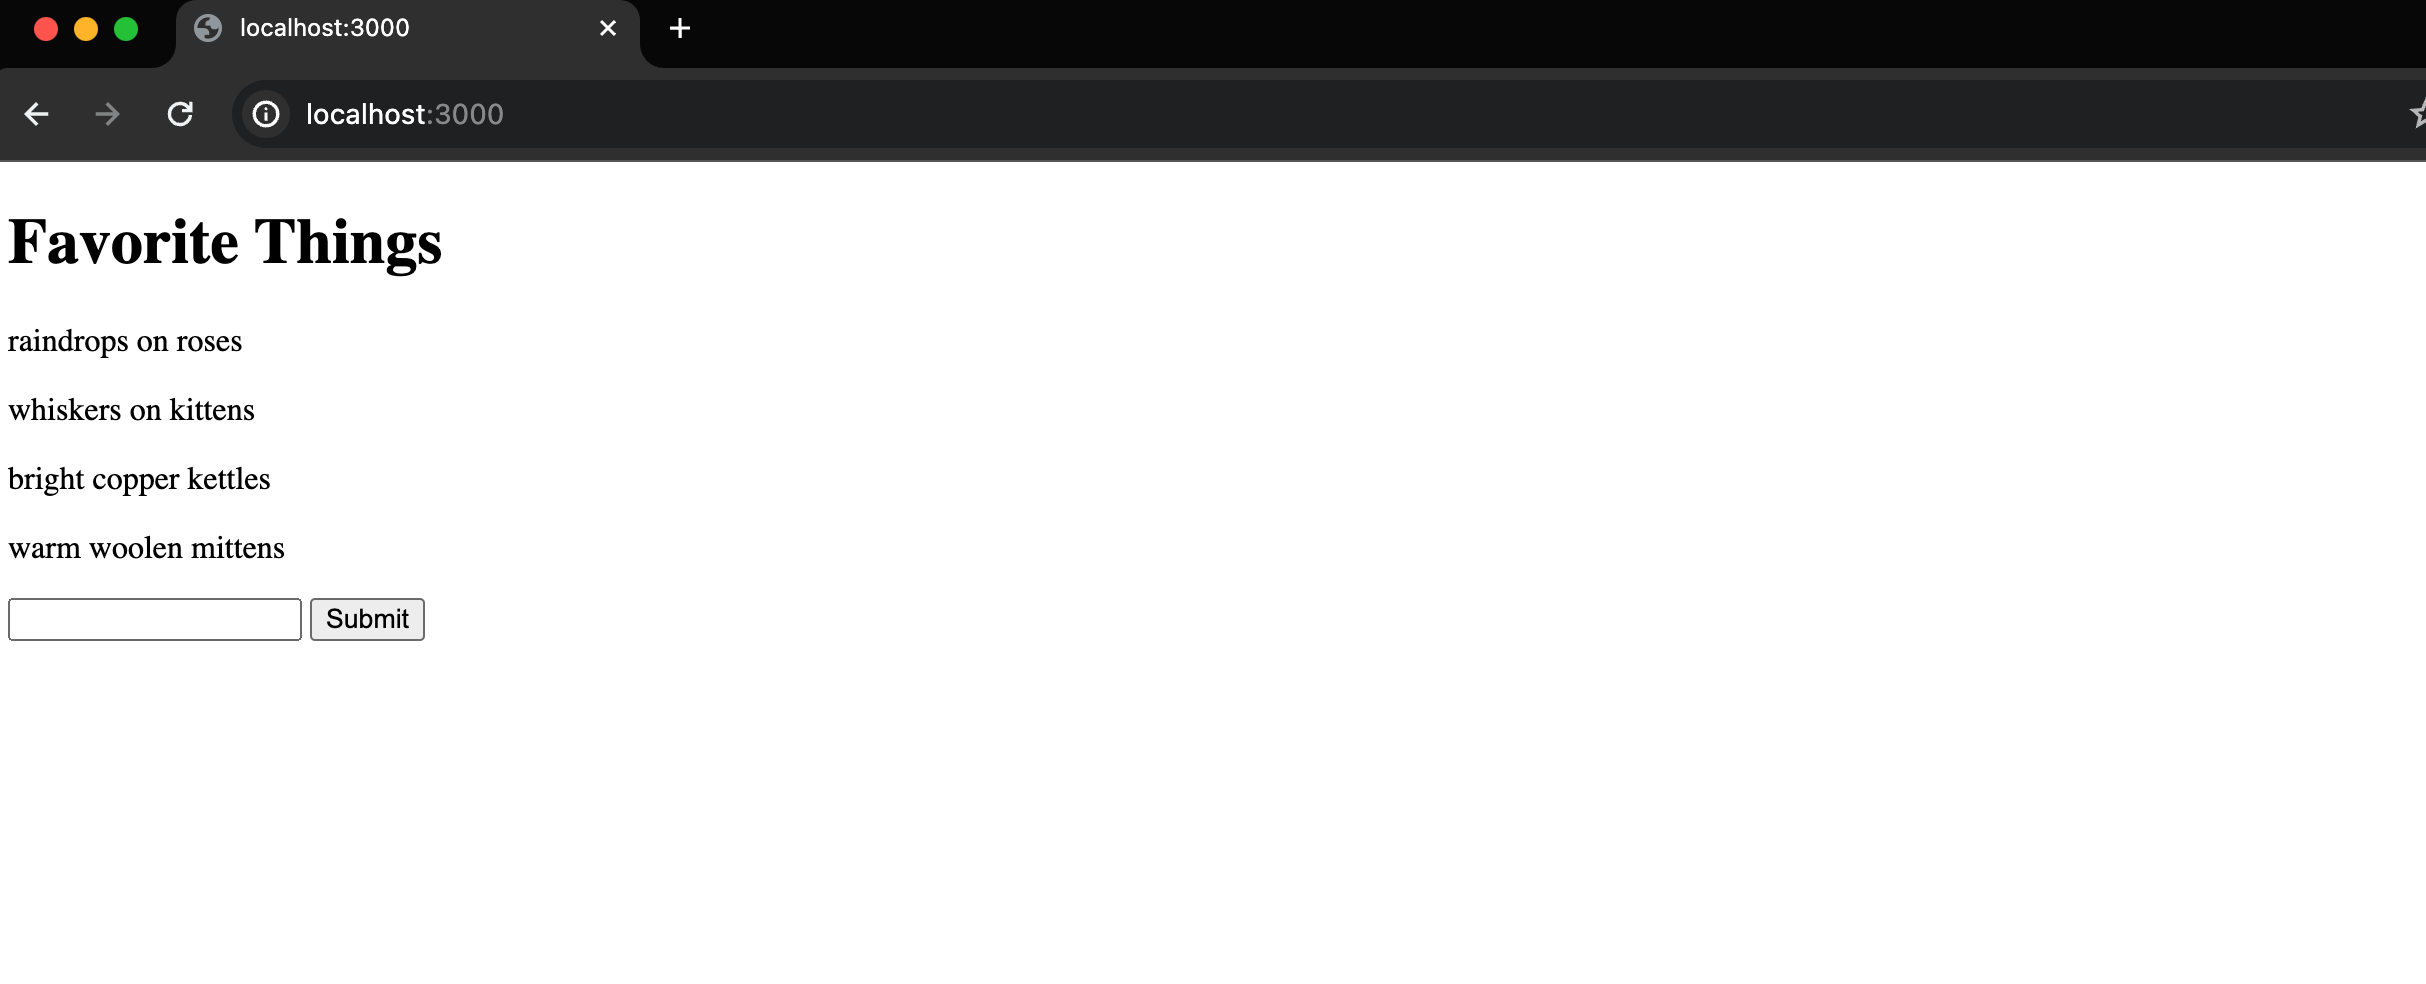
When you visit http://localhost:3000 in your browser, you should see the following page:
Updating our application
Let's say we want to update our application to a new version. We can do this by creating a new Docker image and updating our manifest to use the new image version.
Let's update the index.html with a new title.
...
<h1>My Favorite Things</h1>
...
We then build and tag the frontend image version to 2:
docker build . -f frontend.Dockerfile -t frontend:2
Then, we update the frontend deployment in the manifest to use the new image version.
---
apiVersion: apps/v1
kind: Deployment
metadata:
  name: frontend
  namespace: demo
spec:
  replicas: 1
  selector:
    matchLabels:
      app: frontend
  template:
    metadata:
      labels:
        app: frontend
    spec:
      containers:
        - image: frontend:2
          name: frontend
          imagePullPolicy: Never
Finally, we can apply the changes to our cluster.
$ kubectl apply -f demo.yaml
Running kubectl get pods -n demo quickly enough will show that the frontend pod is being updated with a RollingUpdate rollout strategy.
$ kubectl get pods --namespace demo
NAME                        READY   STATUS              RESTARTS   AGE
backend-5df5d9554c-5zzp8    1/1     Running             0          2d22h
frontend-77b7dbdfff-vq79m   1/1     Running             0          26s
frontend-dc8bc69c4-pcc7g    0/1     ContainerCreating   0          1s
$ kubectl get pods --namespace demo
NAME                        READY   STATUS        RESTARTS   AGE
backend-5df5d9554c-5zzp8    1/1     Running       0          2d22h
frontend-dc8bc69c4-pcc7g    1/1     Running       0          2s
frontend-77b7dbdfff-vq79m   0/1     Terminating   0          27s
Once the update is complete, we can refresh our browser to see the new version of our application.
Scaling
Let's say we want to scale our backend to 3 replicas. We can update our manifest to use 3 replicas and then apply the changes to our cluster.
---
apiVersion: apps/v1
kind: Deployment
metadata:
  name: backend
  namespace: demo
spec:
  replicas: 3
  selector:
    matchLabels:
      app: backend
  template:
    metadata:
      labels:
        app: backend
    spec:
      containers:
        - image: backend:1
          name: backend
          imagePullPolicy: Never
Then, apply the changes to our cluster.
$ kubectl apply -f demo.yaml
Now we can check the status of our pods:
$ kubectl get pods --namespace=demo -o wide --selector=app=backend
NAME                       READY   STATUS    RESTARTS   AGE   IP            NODE                   NOMINATED NODE   READINESS GATES
backend-5df5d9554c-8v9pq   1/1     Running   3          41m   10.42.0.251   lima-rancher-desktop   <none>           <none>
backend-5df5d9554c-ngctc   1/1     Running   3          41m   10.42.0.254   lima-rancher-desktop   <none>           <none>
backend-5df5d9554c-n5mvm   1/1     Running   3          41m   10.42.0.252   lima-rancher-desktop   <none>           <none>
In this post, we looked at how deployments can be used to manage pod replicas. We also saw how deployments and services can be used to expose our pods. Our demo application demonstrated how to deploy our own applications, and how to update them with zero downtime.
What Next?
Familiarize yourself with more workload types:
Other Concepts: